

Curb Appeal Lighting: Where to Place Path and Entry Lights for Safety and Warmth in Denver
Denver outdoor lighting placement determines whether your entry feels intentional or just illuminated. Most homeowners default to evenly spaced, symmetrical path lights that create an airport runway effect, or pick up solar stake lights that quit working reliably within a Colorado winter. This article, from the team at Phase One Landscapes, covers where to place path lights, entry lights, and step lights so your front approach works for both nighttime safety and the kind of warm curb appeal that carries from the street to the front door.
The Short Answer: What Good Path and Entry Lighting Actually Does
Effective path and entry lighting has two goals: it illuminates walking surfaces and grade changes for nighttime safety, and it creates a warm, welcoming appearance from the street. Placement matters more than fixture count. A well-positioned set of staggered path lights, flanking entry sconces, and targeted uplighting on a specimen tree will outperform twice as many fixtures placed without a plan.
Why Lighting Placement Matters More Than Fixture Selection
Where you place a light determines almost everything: whether the result appears considered or haphazard, whether guests see where they’re walking or squint into a glare source, whether your front entry feels layered and warm or over-lit and flat.
The most common mistake we see is buying fixtures first and placing them later. Homeowners purchase a set of matching path lights, space them at equal intervals down both sides of the walk, and end up with an effect that belongs at an airport, not a residential entry. The problem isn’t the fixtures. It’s the decision to treat placement as an afterthought.
When outdoor lighting is integrated as part of a full landscape design/build plan, fixtures work with the walkway materials, plant massing, and architectural features rather than against them. Our approach starts at the same point as everything else in a project: the hardscape layout and planting plan. That means fixture locations are mapped before conduit is run. In practice, that prevents three common problems:
- A path light positioned where a mature shrub will block the beam within a few seasons
- An entry uplight aimed at the wrong architectural feature because placement was decided in the final week of construction
- Conduit routes that conflict with finished hardscape surfaces because lighting was added after the paver plan was set
That integration is what makes the difference between a lighting plan that holds up and one that looks like it was added on.
Where to Place Path Lights Along Denver Walkways and Driveways
Path lights along a front walkway or driveway edge should do one thing above everything else: illuminate the walking surface and the edges that define it. The light should wash across the path, not shoot upward from the fixture.
Staggered Placement for Visual Rhythm
Stagger your path lights on alternating sides of the walk. Placing fixtures in parallel rows on both sides at identical intervals creates the runway effect described above. A staggered pattern, where each successive fixture sits on the opposite side from the last, creates a natural rhythm that guides movement without looking institutional.
Placement for Curved Paths and Driveways
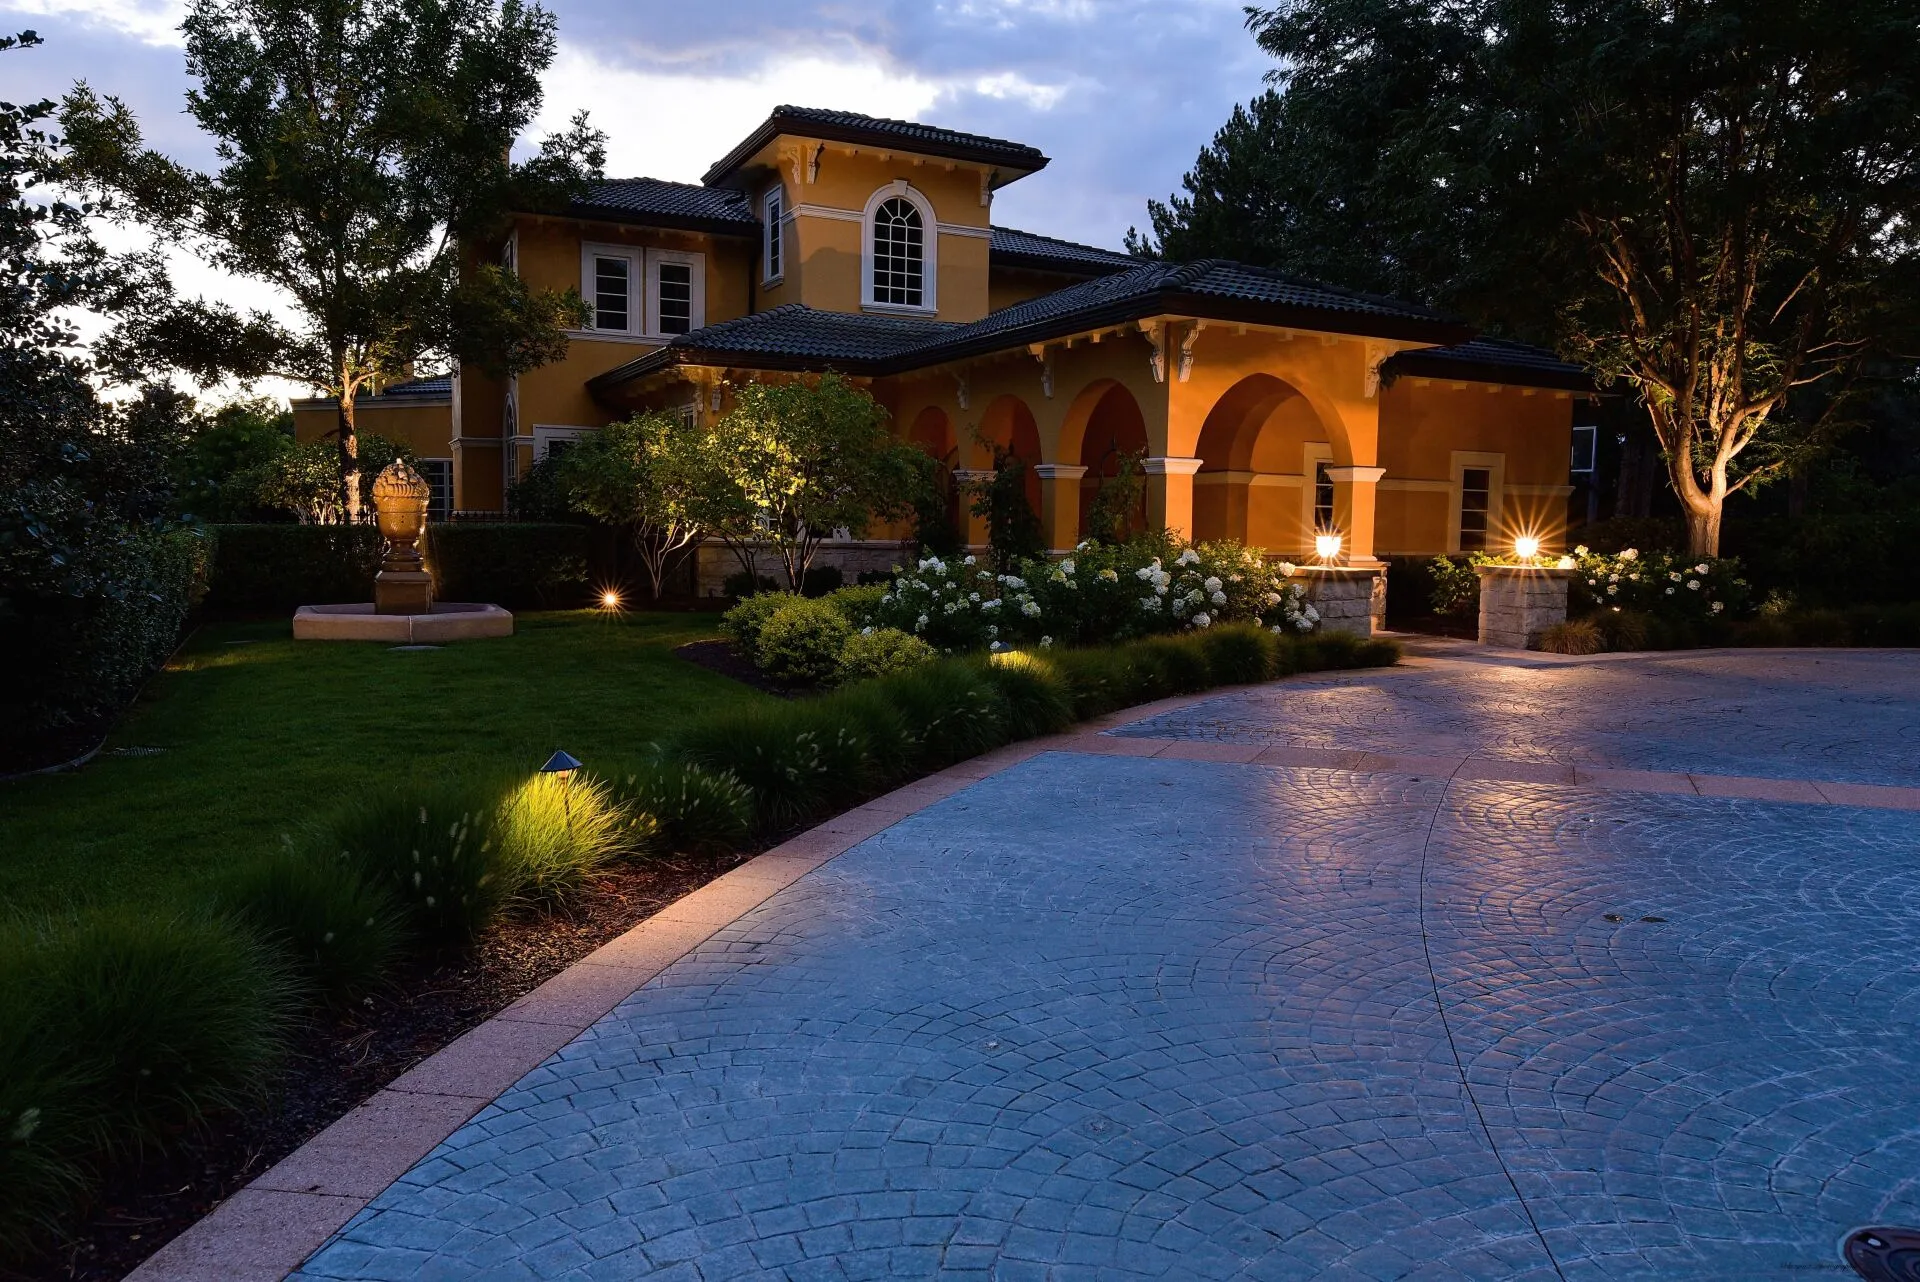
For curved paths, position fixtures on the inside of the curve. That placement reinforces the direction of travel and keeps the beam pointed where a person’s foot will land next. At driveway edges, lights belong at the outer boundary, not the center, so the beam guides arriving vehicles and guests without shining directly into their eyes.
Spacing Considerations
Spacing is a function of the fixture’s output and beam spread, not a universal rule. A starting point of 8 to 10 feet between fixtures works for many residential walks, but a wider beam at higher output may allow greater spacing, while a narrow-beam fixture on a curved or grade-changing path may need to be tightened. At the transition from the driveway to the front walk, and again in the last stretch approaching the front door, closer spacing reinforces those directional changes. For more on how path materials inform fixture placement, see our resource on how to unify your driveway, walkways, and landscape borders.
Key Placement Rules for Path and Denver Driveway Lighting:
- Stagger fixtures on alternating sides rather than running parallel rows down both edges, so the path has visual rhythm without the runway effect
- Aim the beam across the walking surface, not upward from the housing, so the path is lit and the fixture itself isn’t the focal point
- Tighten spacing at curves, grade changes, and approach transitions where directional cues matter most for safe footing
- Position driveway lights at the outer edge, not the center, to guide arriving vehicles and guests without blinding them
- Keep fixtures clear of areas where mature plants will grow tall enough to block the beam within a few seasons
How Many Path Lights Do You Actually Need?
More fixtures doesn’t produce a better result. Overlighting a path washes out the warm effect and introduces glare that actually makes it harder to see grade changes. The right number depends on walkway length, fixture lumen output, and how much ambient light already exists from your entry sconces or architectural lighting nearby.
A useful way to think about it: a well-designed path lighting plan uses the fewest fixtures needed to provide continuous visual guidance along the route, with no dark gaps and no pools of competing brightness. That calculation requires knowing what fixture you’re using and what the rest of the entry lighting looks like. It’s a design judgment, not a product-count decision, and a site visit is the most reliable way to resolve it.
Entry Light Placement: Flanking the Front Door and Framing the Approach
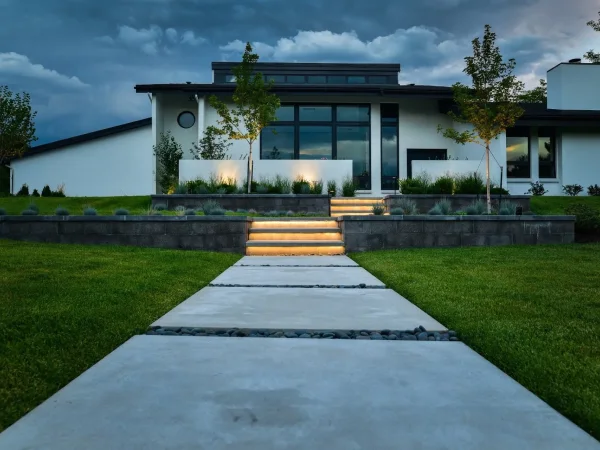
The front door zone is where path lighting and entry lighting meet, and getting it right means thinking about layers rather than individual fixtures.
A well-lit front entry uses three layers working together. Each one has a specific job:
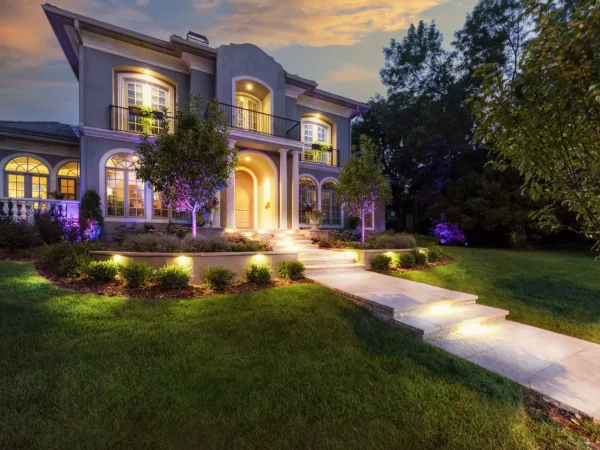
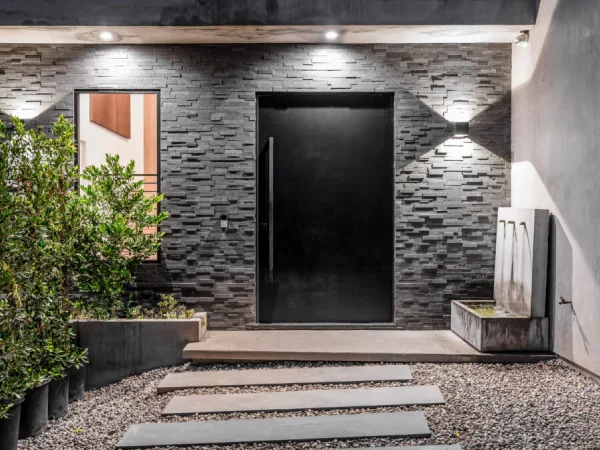
- Flanking sconces: Mounted at roughly 66 to 72 inches above the finished floor on either side of the door, these provide the ambient light that makes the threshold usable at night and the front face of the home readable from the street. The goal is to frame the door without competing with architectural trim or casting shadows that make the lockset difficult to use.
- Downlighting from a porch ceiling or soffit: A quieter source that fills in what flanking sconces leave in shadow, particularly on deeper porches or entries with an overhead structure, without adding a glare source at eye level.
- Uplighting on one or two focal elements: A specimen tree, a prominent structural planting, or a key architectural feature lit from below creates the depth and visual interest that makes a front entry appear designed from the street. This isn’t about lighting everything. It’s about choosing what deserves attention and directing light at it specifically.
The result of combining these three layers, ambient light from sconces, accent from targeted uplights, and task light from path and step fixtures, is an entry that looks considered at night rather than simply lit. For a full picture of how these elements come together as part of a coordinated front entry project, our entry and curb appeal services page covers the broader scope.
Step Lights and Grade Changes: The Detail That Prevents Falls
Step lighting isn’t a finishing touch. In Denver, where grade changes are common, winter darkness arrives early, and ice accumulates on exterior steps from late October through early April, a properly lit step edge is a safety feature.
In-tread or in-riser step lights cast light downward onto the tread surface, illuminating the edge where a foot lands without projecting outward at eye level. That directionality matters: a light aimed into someone’s face as they approach a stair makes the step harder to read, not easier.
At-grade transitions, where a path meets a step, a landing, or a change in surface material, need a light source nearby to signal the change. These are the spots where someone who has walked the path dozens of times in daylight can still misjudge a distance in the dark. When ice has formed on the surface, the visual cue of that lit edge becomes especially important. Plan for step and transition lighting as non-negotiable components of any front entry where grade changes exist.
Denver-Specific Considerations for Outdoor Lighting Installation
Denver’s climate puts outdoor lighting systems under conditions that don’t apply in most of the country. Working in the Greater Denver Metro and Colorado Front Range for over 35 years, our team has seen how those conditions play out in real installations.
Three conditions in the Denver and Front Range climate directly affect how a lighting system is specified and installed:
- Freeze-thaw cycles: As ground temperatures cycle through freezing and thawing across a Colorado winter, soil shifts. That movement can loosen fixture stakes, stress buried conduit joints, and work wiring connections loose over time. Fixture installation methods and conduit depth need to account for this from the start, not after a connection has failed mid-season.
- High-altitude UV exposure: Denver’s elevation accelerates degradation of plastic fixture housings and lenses faster than at lower elevations. Fixture material and housing ratings aren’t a marketing detail here; they’re a durability specification. The Front Range gets intense sun even in winter, and a housing that holds up in other climates may not perform the same way here.
- Extended winter darkness and snowmelt moisture: Fewer daylight hours from late fall through February mean your system runs longer and harder during the months when weather is also most challenging. Snow reflection amplifies glare from fixtures aimed too high or too far outward, so downward-aimed, shielded fixtures matter. Spring snowmelt creates ground-level wet conditions that require fixtures properly rated for that exposure.
These practical realities shape every decision our team makes in hardscaping installation work, from fixture specification to conduit routing.
Low-Voltage LED Systems: Why Professional Installation Outperforms Store-Bought Solar
Low-voltage LED systems use a transformer to step standard household current down to 12 volts. That’s the technical foundation of most professionally installed residential landscape lighting, and it matters for two reasons: it’s safe, and it’s consistent. Professional-grade LED fixtures hold their lumen output over time and through temperature extremes in a way that cheaper alternatives do not.
Limitations of Solar Stake Lights in Colorado
Solar stake lights from a home improvement store face a fundamental problem in Colorado. Shorter days from November through February limit the charging window. Snow cover on the panels interrupts charging further. The result is a system that provides the least reliable output during the months when you need it most. Solar lights also can’t integrate with the broader lighting control infrastructure of a property; they operate independently and inconsistently.
Advantages of Professional Low-Voltage Systems
A professionally installed low-voltage system includes a transformer sized to the actual electrical load of the installed fixtures, wiring that’s either buried to code depth or run in conduit, and fixtures specified for the conditions they’ll face. Our installed systems are part of the full project scope, coordinated by the same in-house team that handles the hardscape, planting, and irrigation, because the same team runs all of it. That coordination is what allows lighting conduit to be integrated into a paver field before the surface is finished, rather than cut in after the fact.
How Phase One Landscapes Integrates Outdoor Lighting Into the Full Design
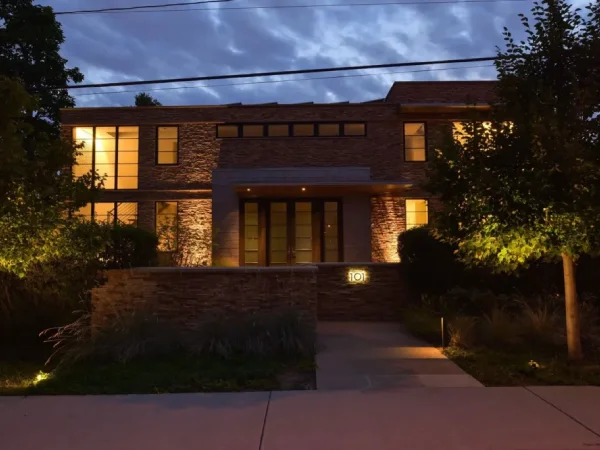
Lighting placement is determined during the landscape design phase. By the time our Denver landscaping team is on-site, the fixture locations are already shown on the plan, coordinated with walkway joints, planting bed edges, tree placement, and architectural features. That sequence matters because it allows conduit runs to be integrated into the hardscape installation rather than retrofitted.
Continuity of Design and Construction
There’s no handoff between a landscape designer, a separate electrician, and a lighting vendor. The designer who draws the hardscape plan also determines where the lights go, and that person remains involved through construction. As Charles Kollmann states: “We’re with you the entire process because we’re a full in-house operation.” That continuity protects design intent and keeps decisions from falling through the gaps between trades.
Post-Installation and Warranty
After installation, we conduct a 30-day check-in as part of standard post-project follow-up, and our hardscape work is backed by a two-year limited warranty. Lighting installed as part of a larger landscape project is part of that broader scope. Over three decades of work in the Greater Denver Metro, our team has earned more than 20 to 30 awards from the Associated Landscape Contractors of Colorado. This kind of institutional knowledge shows up in the details of how a system is specified and installed. Learn more about us and our credentialing, and see the full scope of our landscape construction services including how landscape lighting fits within a complete project.
Ready to talk through your entry lighting plan? We’re happy to walk through your property and think about it with you. Start a conversation with our team.
Common Lighting Placement Mistakes and How to Avoid Them
These are the patterns we see most often when a lighting plan hasn’t been thought through from the design stage.The Runway Effect
The runway effect comes from placing fixtures in parallel rows at equal spacing on both sides of a walk. The fix is straightforward: stagger the fixtures and adjust spacing at grade changes and transitions rather than holding a fixed interval throughout.Over-Uplighting
Uplighting is most effective when it’s reserved for specimen trees, strong structural plantings, or architectural elements that genuinely deserve attention. When every shrub in a planting bed receives the same uplight at the same intensity, nothing stands out and the overall result appears as noise rather than design.Unlit Step Transitions
An unlit step transition is both a safety gap and a visual gap. Any change in surface level or material belongs on the lighting plan. Leaving those transitions in shadow is the detail that most often undermines an otherwise solid installation.Color Temperature Considerations
Color temperature has a meaningful effect on how a front entry feels from the street. Warm white in the 2700K to 3000K range appears welcoming against Colorado stone, wood, and plant material. Cooler color temperatures tend to look clinical in residential settings, and Denver’s zoning code establishes a maximum color temperature for applicable outdoor lighting situations, so working within that range is both a sound design choice and a code consideration worth confirming with your design-build team.Ignoring Mature Plant Sizes
Installing fixtures before planting is finalized creates a problem that reveals itself slowly. A light positioned to uplight a young ornamental grass may be blocked entirely by a mature neighboring shrub in three or four seasons. Good landscape lighting design accounts for mature plant sizes from the start, and that requires working from the full landscape plan rather than deciding fixture locations independently. This is where thoughtful landscape lighting design, grounded in the complete picture of the site, consistently outperforms a fixture-first approach.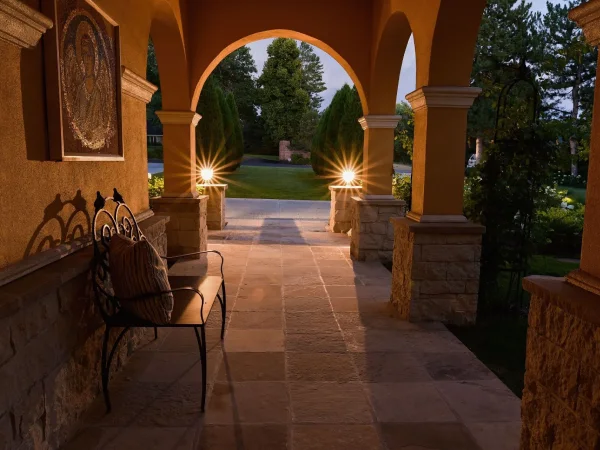
Frequently Asked Questions About Path and Entry Lighting in Denver
How far apart should path lights be spaced?
A starting point of 8 to 10 feet between fixtures works for many residential walkways, but the right spacing depends on fixture lumen output, beam spread, path width, and nearby ambient light sources. Tighten spacing to 5 to 6 feet at curves, grade changes, and in the final stretch approaching the front door. Staggered placement on alternating sides is more effective than parallel rows regardless of the spacing used.
What color temperature works best for outdoor landscape lighting in Denver?
Warm white in the 2700K to 3000K range works well in most residential settings. It appears welcoming against natural stone, wood, and plant material, and it avoids the clinical look that cooler color temperatures create next to a home. Denver’s zoning code establishes a maximum color temperature for applicable outdoor lighting installations, and working within the 2700K to 3000K range keeps your project on the right side of that requirement.
Do I need a permit for low-voltage landscape lighting in Denver?
Low-voltage systems operating at 12 volts typically don’t trigger an electrical permit requirement in most Colorado jurisdictions, but line-voltage landscape lighting does. Requirements can vary by project scope and municipality. Your design-build team should confirm the specific permit status for your project before installation begins, since the answer depends on what is being installed and where.
How do I keep path lights working through Colorado winters?
Professional-grade fixtures rated for outdoor use, with properly buried or conduit-run wiring, maintain consistent performance through freeze-thaw cycles. Solar stake lights aren’t a reliable solution in Colorado’s climate: shorter winter days and snow cover on panels limit charging during exactly the months when the lights are needed most. A professionally installed low-voltage LED system with a properly sized transformer is the dependable alternative.
Can landscape lighting be added to an existing hardscape?
Yes, it can be retrofitted, though it’s more cost-effective and cleaner when planned during the original hardscape installation. When conduit and wiring are integrated before a paver field or concrete surface is poured and finished, you avoid cutting into completed work later. If your hardscape is already in place, a site assessment will help determine the best approach for adding lighting without compromising the finished surfaces.
Practical Takeaways: A Simple Placement Checklist for Front Entry Lighting
- Stagger path lights on alternating sides of the walkway rather than placing them in parallel rows.
- Illuminate every step edge and at-grade surface transition, including spots where path material changes.
- Layer entry sconces with targeted uplighting on at least one specimen tree or architectural feature near the door.
- Stay in the 2700K to 3000K color temperature range for a warm, welcoming result that also respects Denver’s outdoor lighting guidelines.
- Size the transformer to the full electrical load of the installed system, not just the initial fixture count.
- Map fixture locations relative to mature plant sizes, not just current installation-day conditions.
- Choose fixtures rated for outdoor moisture exposure and temperature extremes appropriate to Colorado’s climate.
- Confirm conduit routing before hardscape surfaces are poured or set, so wiring can be integrated cleanly.
Lighting Is Part of the Landscape, Not a Product Category
Thoughtful path and entry lighting does two things at once: it makes the home safer to handle at night and it creates a first impression that carries from the street to the front door. The difference between a lighting plan that achieves both and one that misses is almost entirely in the placement and integration decisions made during design, before a single fixture stake goes in the ground.
We’ve been planning and building landscape lighting as part of full residential designs across the Greater Denver Metro and Colorado Front Range since 1994. It’s one piece of a complete landscape, and it works best when it’s treated that way from the start. If you’re thinking about a front entry project that includes a new walkway, steps, or planting, our resource on designing a custom flagstone entry, and our service page on entry & curb appeal are good places to see how these elements connect.
If you’re ready to explore how outdoor lighting can work as part of your landscape design, schedule a design consultation with us. You can also browse our project portfolio to see finished lighting work on real Front Range homes.

About Phase One Landscapes
At Phase One Landscapes, we put your goals at the center of every design. With years of hands-on experience across Colorado, a passion for creativity, and a commitment to honest, friendly service, we’d be honored to guide your landscape transformation.
Ready to bring your dream yard to life? Contact us today for a consultation—let’s start the next chapter of your outdoor story together.
We can’t wait to hear your ideas—and turn them into reality!

Written by Dave Graham
Dave is a Denver native and co‑founder of Phase One Landscapes. After earning a B.S. in Landscape Architecture from Iowa State University in 1981, he worked as a laborer, construction foreman, and designer, learning residential design/build from the ground up. In 1988 he partnered with Dennis Frank to launch Phase One Landscapes, which has delivered hundreds of landscapes across Greater Denver. Dave prioritizes quality and service and remains involved with clients and teams. The firm’s projects have earned ALCC awards, appeared on ASLA Garden tours, and been published in national and local magazines.